Step-by-Step | Prepare Spigen Premium Air Vent Magnetic Car Mount and iPhone 6 Plus
Sat, 04/23/2016 - 17:41
We recently purchased and reviewed the Spigen Premium Air Vent Magnetic Car Mount. Here’s a step-by-step guide in photos on how to prepare your smartphone for connecting with the Spigen Premium Air Vent Magnetic Car Mount and iPhone 6 Plus
In Photos: Step-by-Step Guide to Preparing your Smartphone for the Spigen Premium Air Vent Magnetic Car Mount
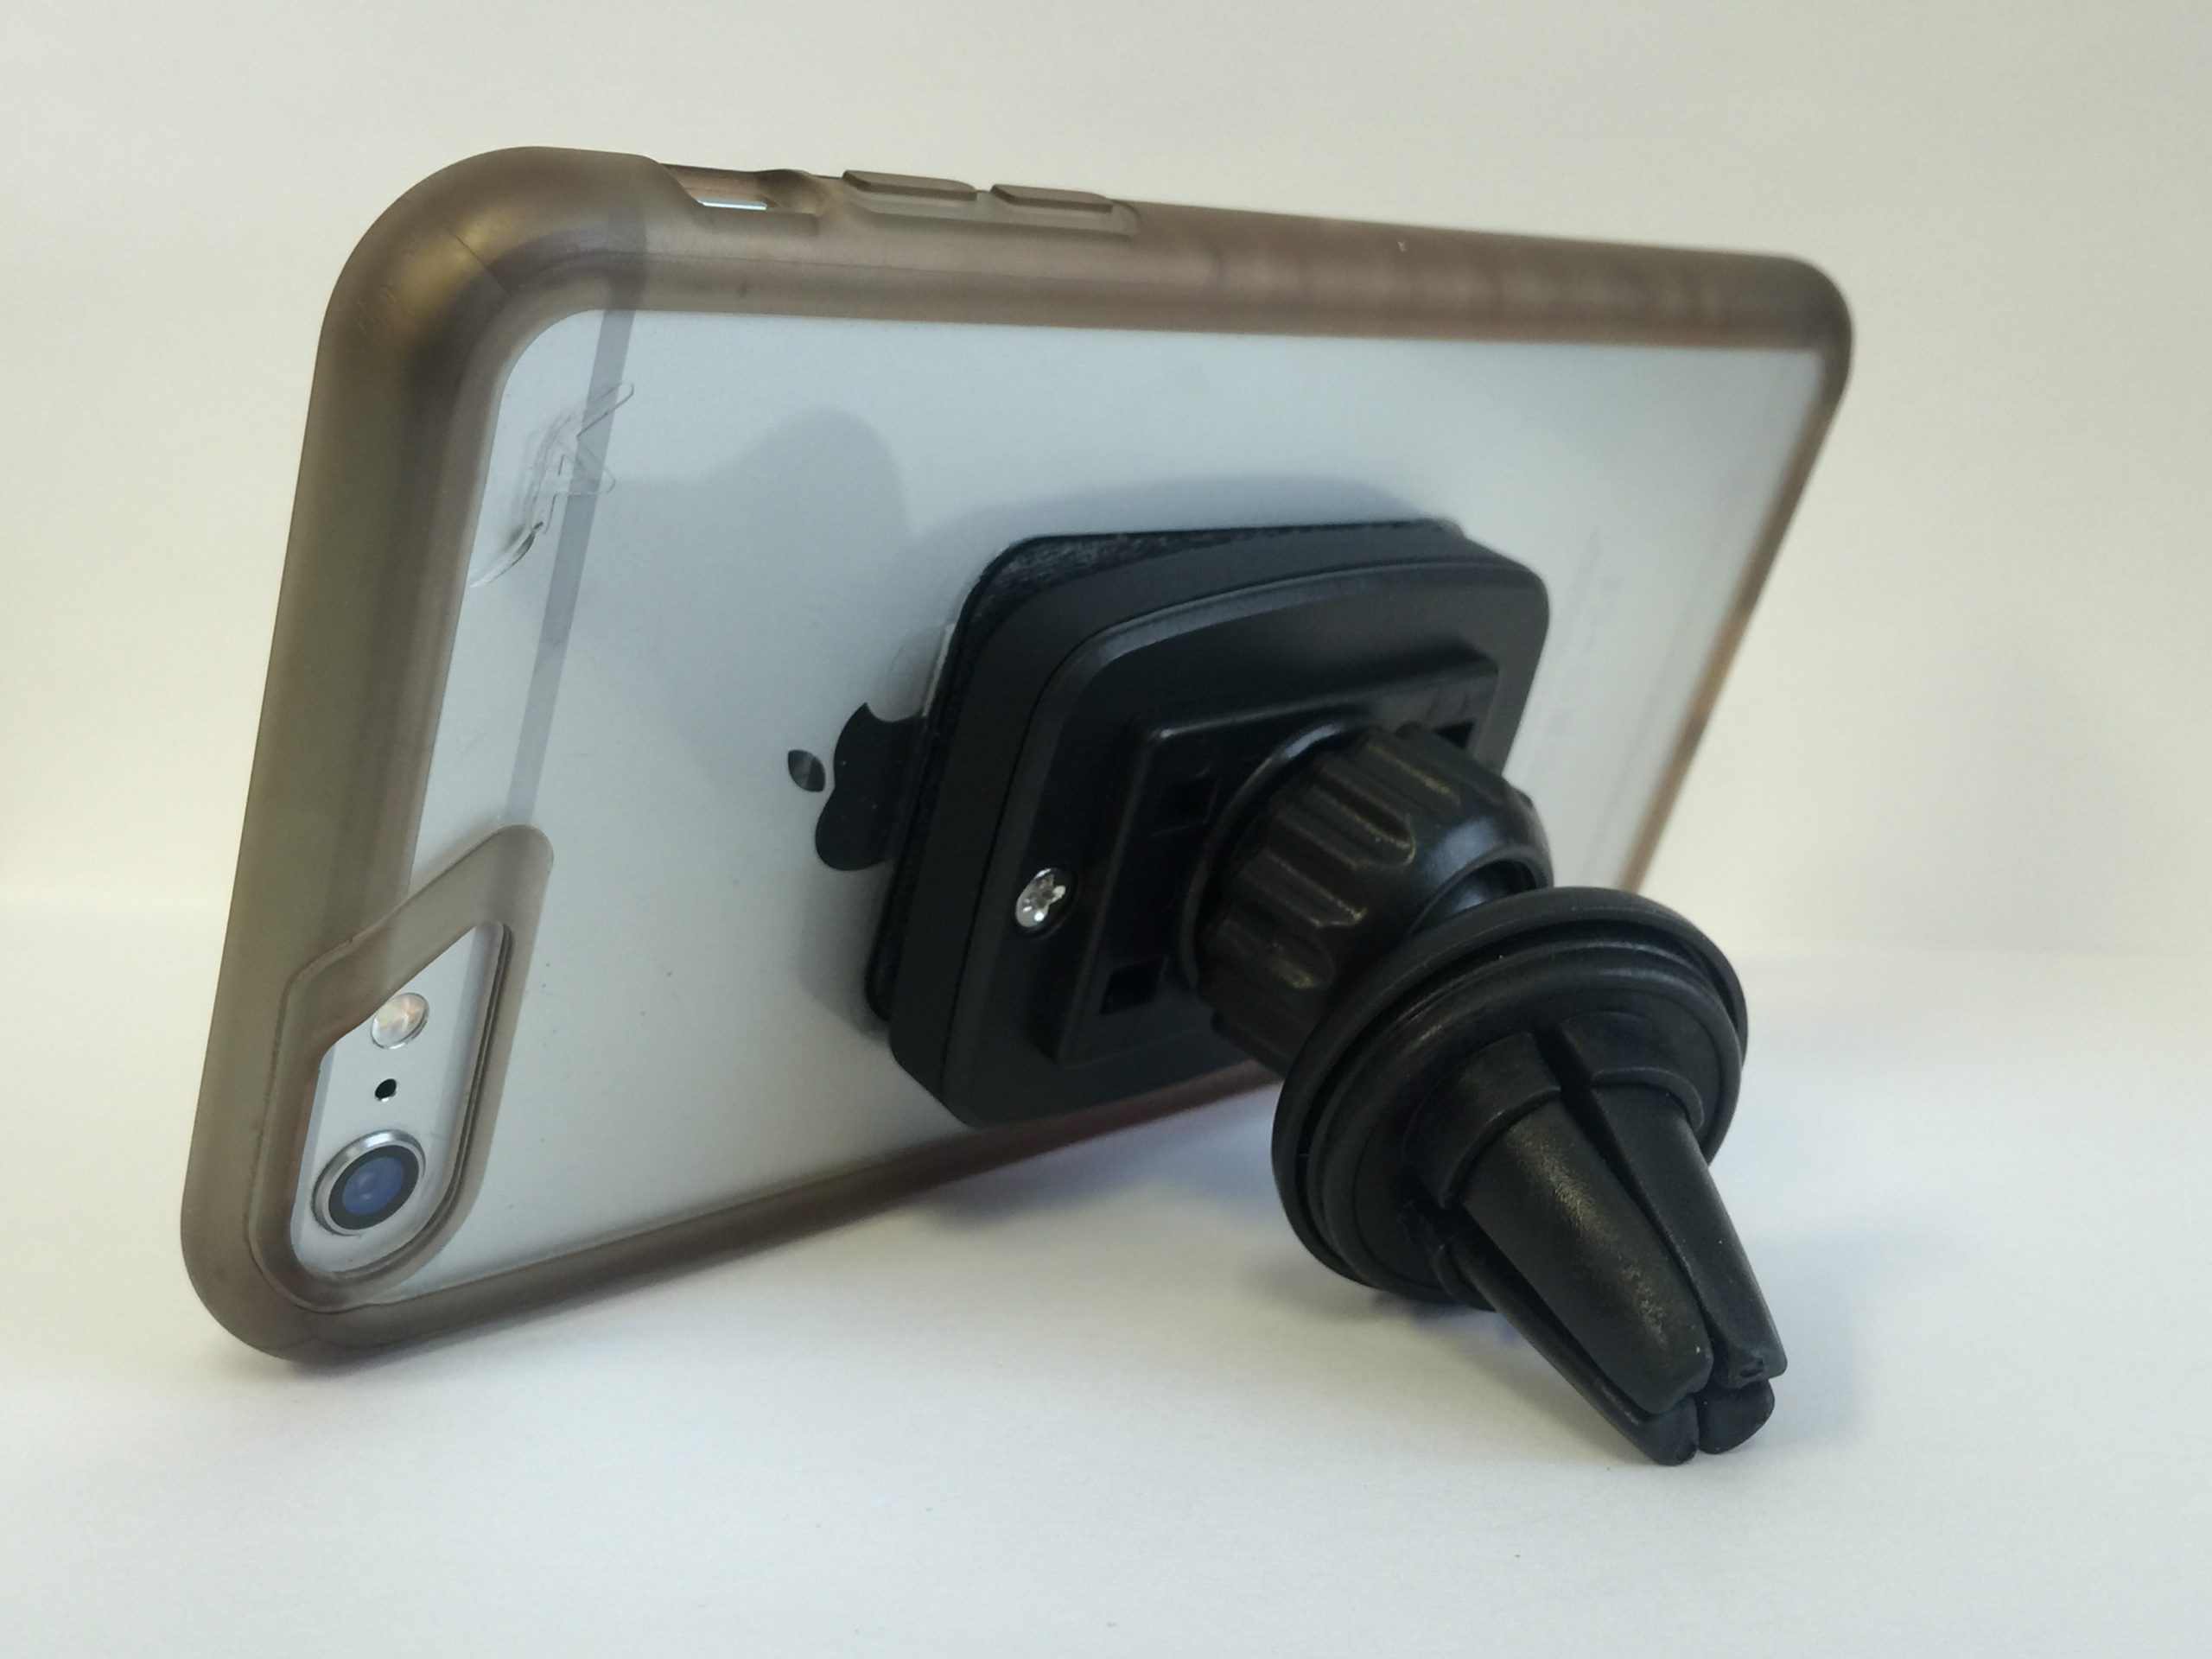
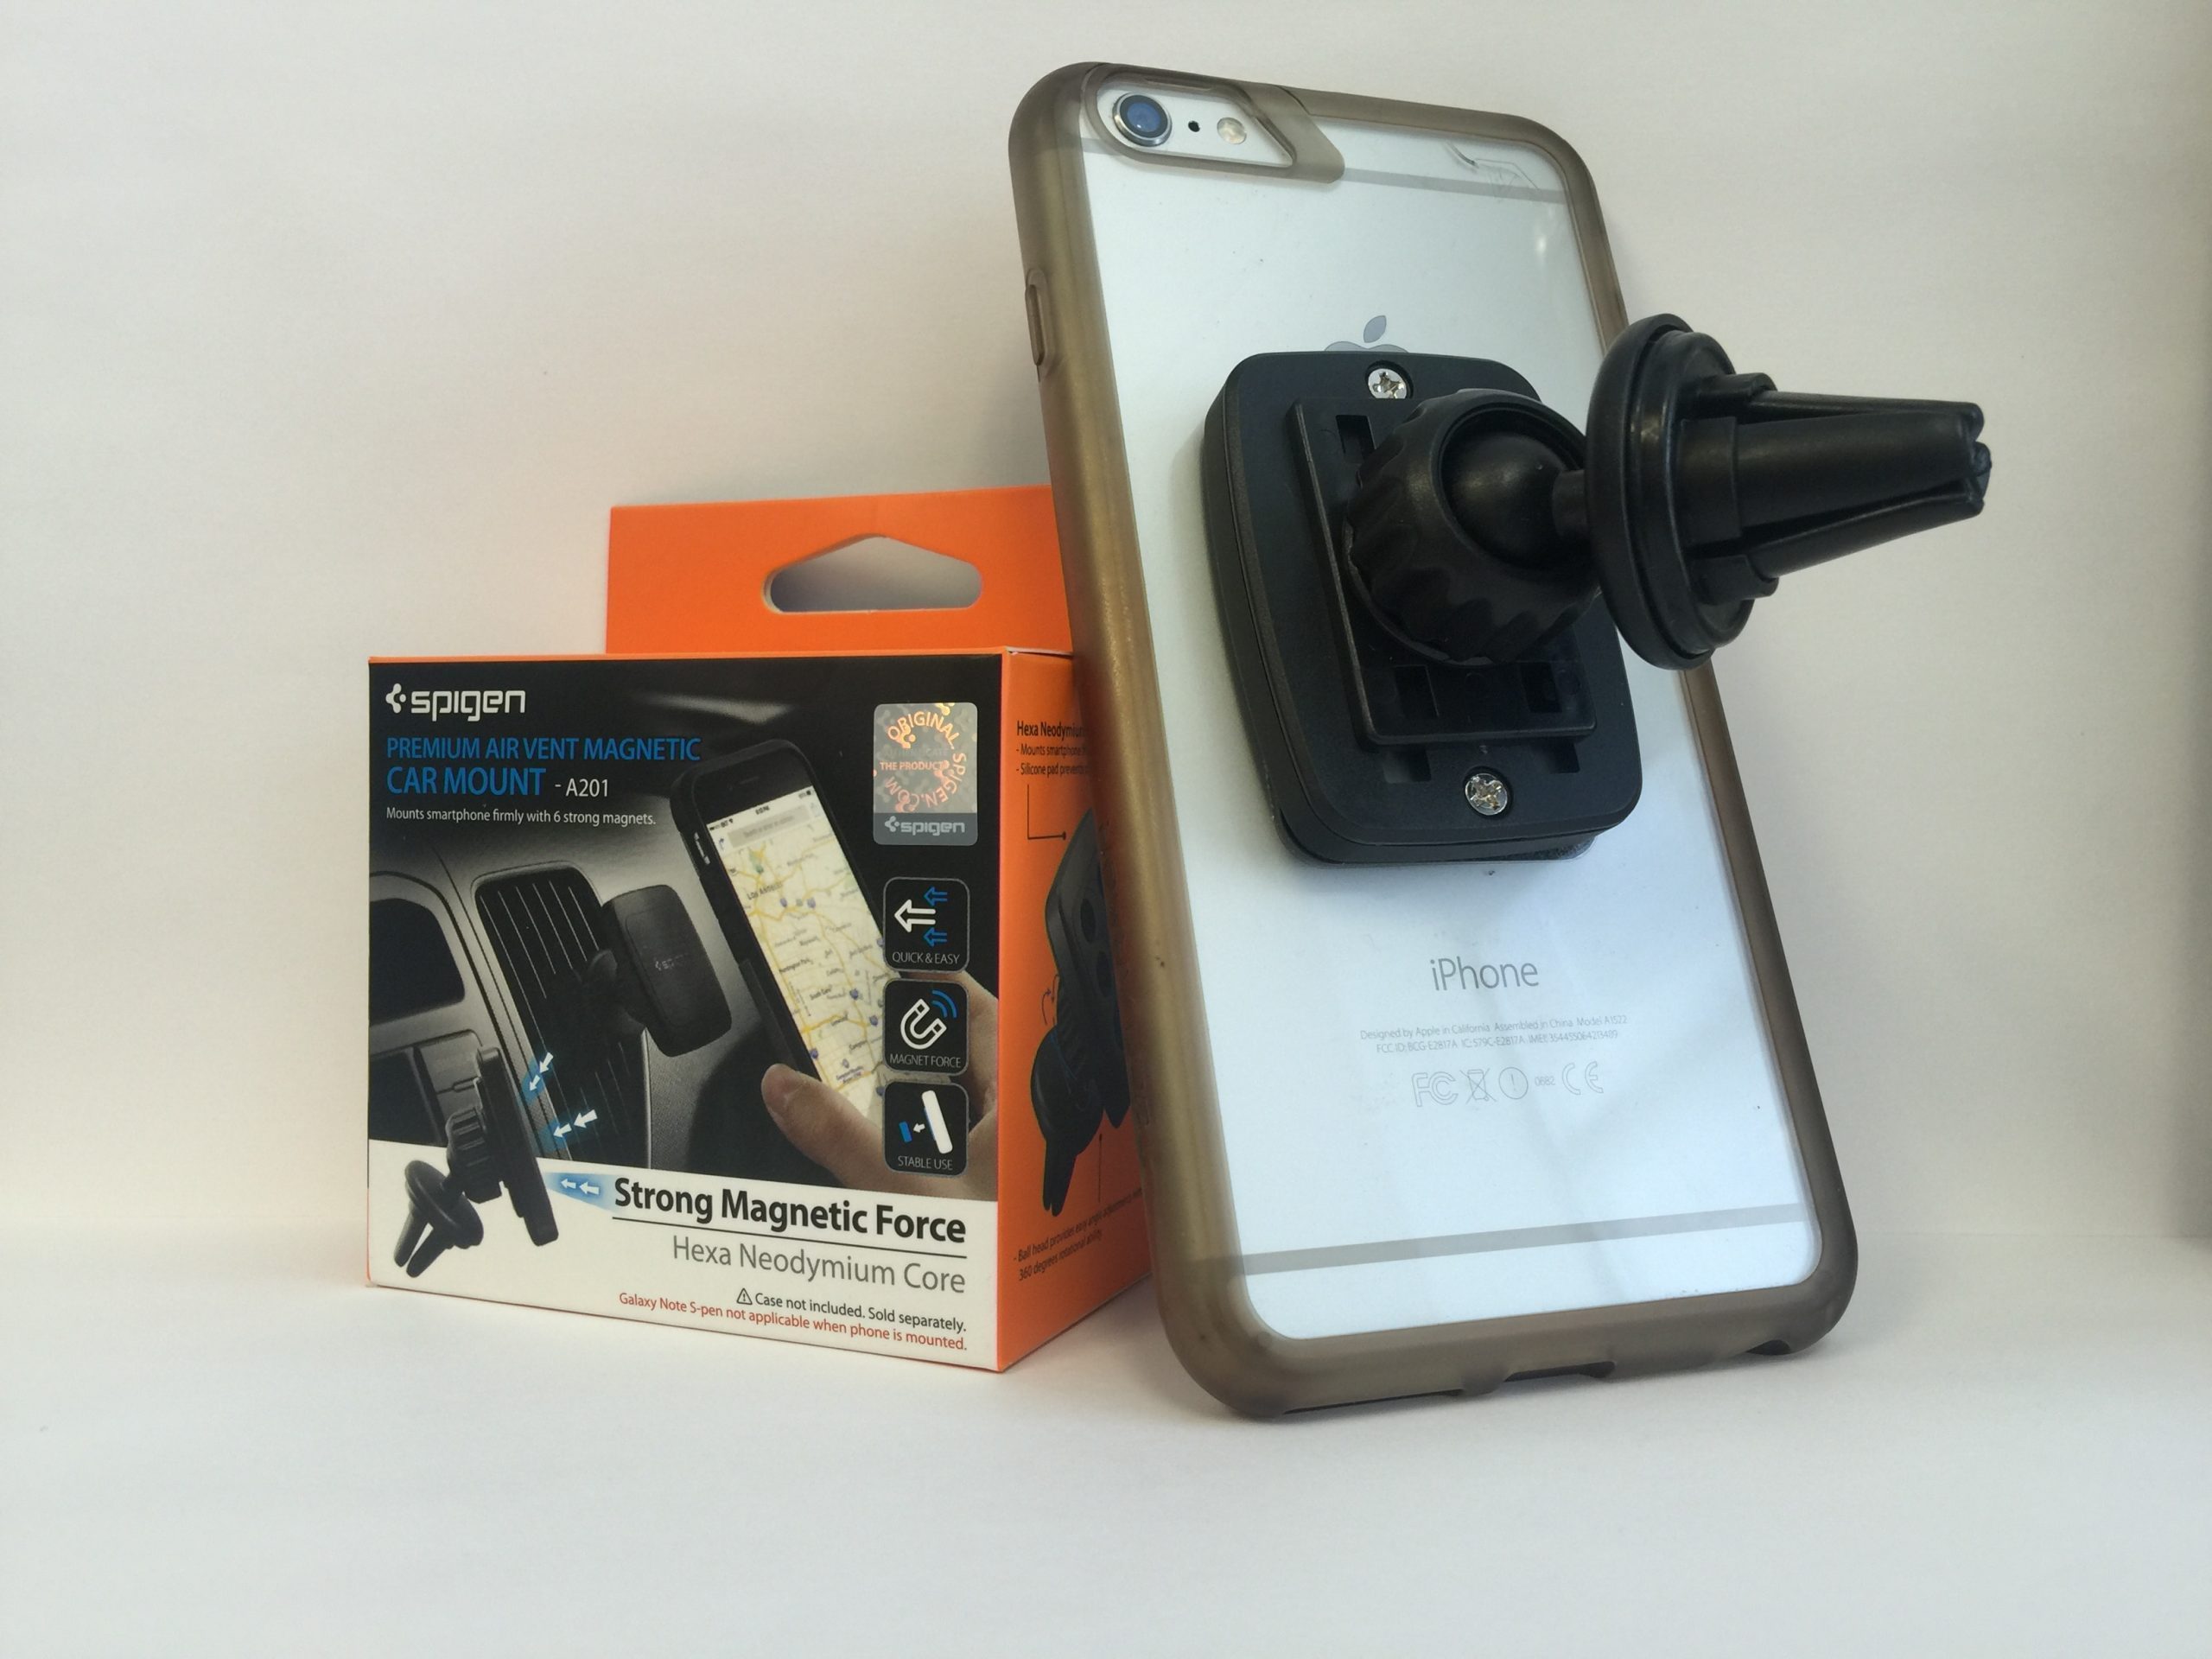
Spigen Premium Air Vent Mount kit with magnets and anti-scratch protection (2 per $13 pack). Prep your smartphone by cleaning it before attaching Spigen magnet square. A simple alcohol or lens wipe should suffice. Be sure to wipe the back of the phone, too, if you’re mounting the magnet to your device. A protective film can be attached here *before* the magnet to keep from damaging your phone. Clean the case, too! Everything’s clean, so let’s get started! Peel off the 3M protective backing to reveal the sticky adhesive. Magnet placement is key. Be sure it’s centered on your phone or case. here’s how it looks once attached to the case. A case that’s not clear would easily hide the wafer-thin magnet strip. Attached, the phone can easily rest in landscape position. Or rotate to portrait. The back twists to loosen or tighten the axis. The Spigen Premium Air Vent Mount is optimal for navigation. Mounted iPhone 6 Plus inside a Lexus GX460. Here’s the navigation in action.
  Total package! Spigen Premium Air Vent Mount
[{"target_id":"255258","alt":null,"title":null,"width":"2560","height":"1920","url":"\/sites\/default\/files\/articles-images\/fc\/IMG_1583-9492369-scaled-3435533-6394675.jpg"},{"target_id":"255259","alt":null,"title":null,"width":"2560","height":"1920","url":"\/sites\/default\/files\/articles-images\/02\/IMG_1578-5574272-scaled-7142991-1072633.jpg"}]


