How to Replace the Headlights in Your Car
Many of the car repairs we used to take for granted as do-it-yourself tasks have mushroomed into something akin to brain surgery thanks to computerization, emissions equipment and the increasingly complicated way modern cars are built. Thankfully, for the home mechanic, there are still a few holdouts.
Headlight repairs are one of these. On most modern cars, headlight housings are still installed and removed just about the same way they always have been. Sure, the lights themselves have improved, but the process still involves disconnecting electrical connections and then extracting and replacing the headlight housing itself.
Why Change Headlights?
 Sometimes lights just quit, and in that case the need for a replacement is obvious. In most cases, though, the motivation to open your headlight housing is to simply replace a bulb. For example, the xenon gas bulbs popular in many modern cars can undergo color shift as they age. Swapping in a new set will let you enjoy the crisp, white light your car produced when new.
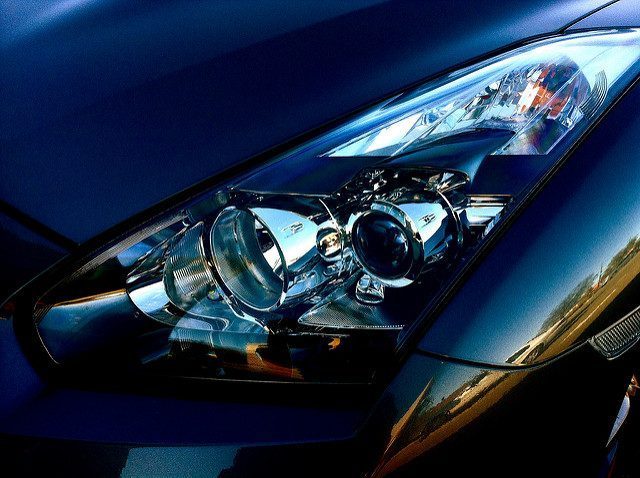
In other instances, you may want to replace the entire headlight fixture. Fogging is common in sealed-beam projector lights, and while there are ways to restore fogged headlights, the costs of doing so multiple times will exceed the cost of simply replacing them. Pick up some replacement lights and follow our instructions to a clearer, brighter driving experience.
Removing Your Old Lights
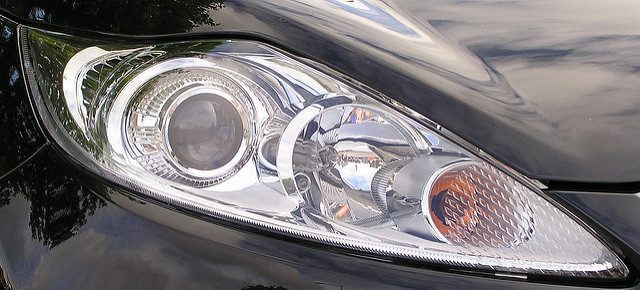 After you pop the hood, the headlight assembly on your car should be easy to recognize. Make sure to disconnect the battery on your car to avoid any risk of shock, and then disconnect the leads going to the lights themselves.
If you’re only planning on replacing your bulbs, remove the dust covers from behind them. Different brands may vary slightly in how the bulb is held in place, but you can usually remove it by rotating, or simply giving it a pull. Make sure your replacement bulbs are clean before you install them, and perform the removal steps in reverse to get up and running.
If you’re replacing the entire headlight assembly, you won’t need to remove the bulbs. Remove any fasteners holding the assembly in place and then gently withdraw it from the car’s body.
Installing New Lights
With your old lights out of the picture, all that’s left to do is install your new replacement headlights. Place them in the openings where you removed the old lights, connect them to your car’s electrical system and then restore power by putting the leads back on your battery.
The low beams in your lights need to be aimed, since they focus on one particular place rather than throwing light everywhere like your high beams do. A good way to check where they are aimed is by pointing them at your closed garage door. Most light fixtures allow you to adjust aim using a screwdriver.
With your new lights in place, your car will look better, people will notice you more quickly during driving and you will be better equipped to see what’s in front of you on the road. Nice work!


