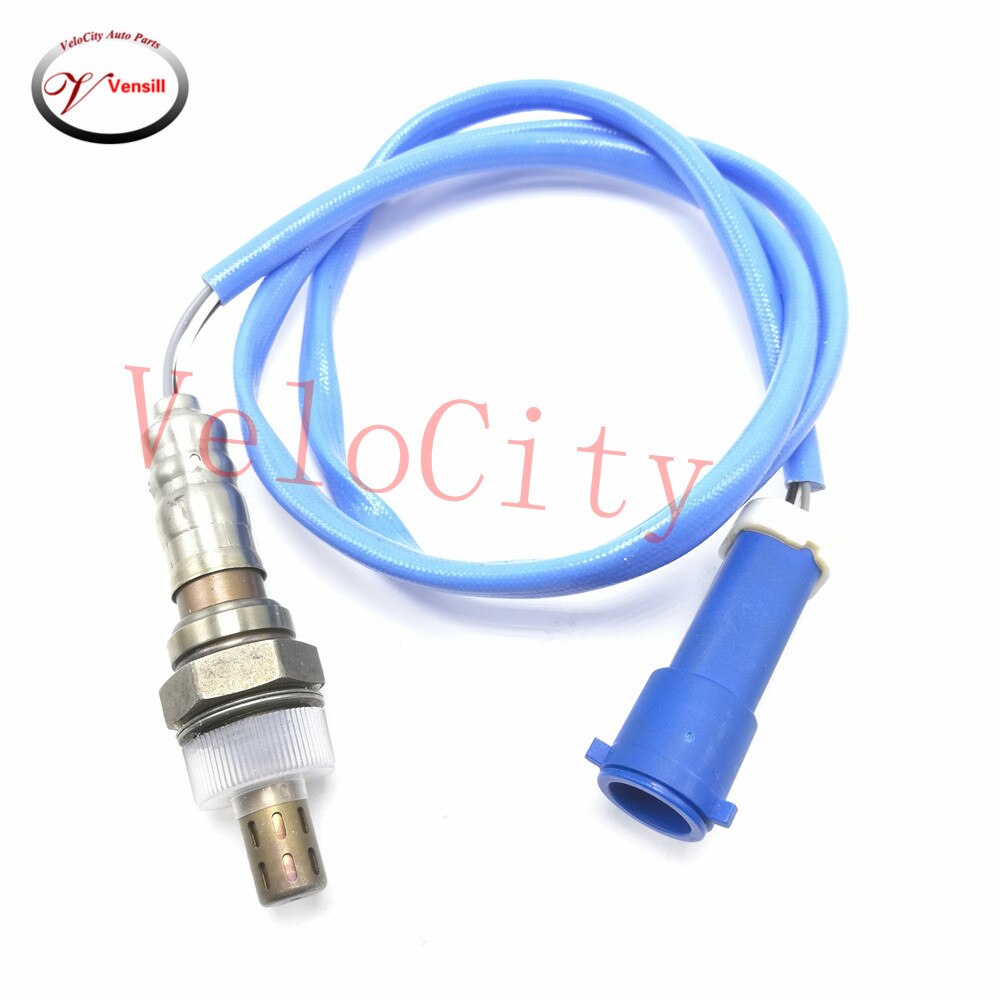
How to Replace a GMC Sierra Crank Sensor
GMC Sierra has a crank sensor (popularly called as crankshaft position sensor or CKP) which is a small magnetic sensor that usually measures the rotation of the crankshaft. The crank sensor first measures the engine RPMs and afterward passes on that information to the engine control computer. Next the engine control computer sets ignition timing, while reducing emissions and boost fuel economy. It is quite simple to replace a GMC Sierra crank sensor and you can do it on your own as well. Here’s how to replace a GMC Sierra crank sensor.
Things you’ll need:
Helpful tools to carry out this task are:
- GM scan tool
- Wrench set
- Socket set
- Clean engine oil
Removing the Crank Sensor
Step 1:
First raise the vehicle up by following instructions described in the owner’s manual and then support the vehicle with jack stands beneath the frame.
Step 2:
Come across the crankshaft position sensor. On 8.1L engines, it is mostly found on the rear of the engine on top of the transmission mounting flange. Although it is positioned on the side of the engine block above the starter on 4.8L, 5.3L, 6.0L and 6.2L engines,. On all other remaining engines, you will find it alongside the crankshaft pulley on the left side of the engine block.
Step 3:
In case of 4.8L, 5.3L, 6.0L and 6.2L engines, you need to remove the starter. For this course, take the two bolts out that join the starter with the engine block. Lower the starter and after that detach the electrical connector.
Step 4:
Take the bolt away that is there to secure the crankshaft sensor to the engine block.
Step 5:
Take the sensor out from the engine block. Throw away the rubber O-ring.
Installing a Crank Sensor
Step 1:
Next oil the new O-ring with clean engine oil and afterward put it on the new sensor.
Step 2:
Slip the new sensor into the engine block.
Step 3:
Put the bolt in again that keeps the sensor in the engine block.
Step 4:
Attach the wiring connector to the sensor again.
Step 5:
Reinstall the starter in case of 4.8L, 5.3L, 6.0L and 6.2L engines. Next attach the wiring connector with the starter, and afterward raise it into position. Now reinstall the bolts that join the bolts to the engine block.
Step 6:
Now attach a GM scan tool with the vehicle’s diagnostic port and then run the crankshaft position sensor variation learn procedure.
Tips & Warnings:
- Ahead of taking the sensor away first make its surround clean to put off any dust, grim, oil or grease from entering the engine block.
- It is suggested to follow instructions described in the owner’s manual while lifting and lowering a vehicle. If you don’t follow them you may face severe injuries or even death.


