How to Dry Out a Wet Car Interior
Car interiors and water don’t mix. Even if you drive a latex-lined Honda Element your ride’s insides can only handle so much moisture before things start to go sour.
Exposure to too much water, whether it be by leaving the window open on a rainy day, driving into a deeper hole than you were planning for, or letting your little ones get carried away with the garden hose, can have some detrimental effects.
So what’s the problem with a wet car interior? For starters, no one enjoys a wet butt, but damaged electronics can render your stereo or more important equipment non-functional, and cost thousands to repair. There is also the risk of mold, which can set in when moisture isn’t removed quickly enough. Avoid this situation at all cost if you ever want to enjoy life from the inside of your car again.
A wet car interior is no fun, but if you follow these steps, you can right the situation with minimal money spent:
How to Dry Out Your Car, Step 1: Do What Comes Naturally…
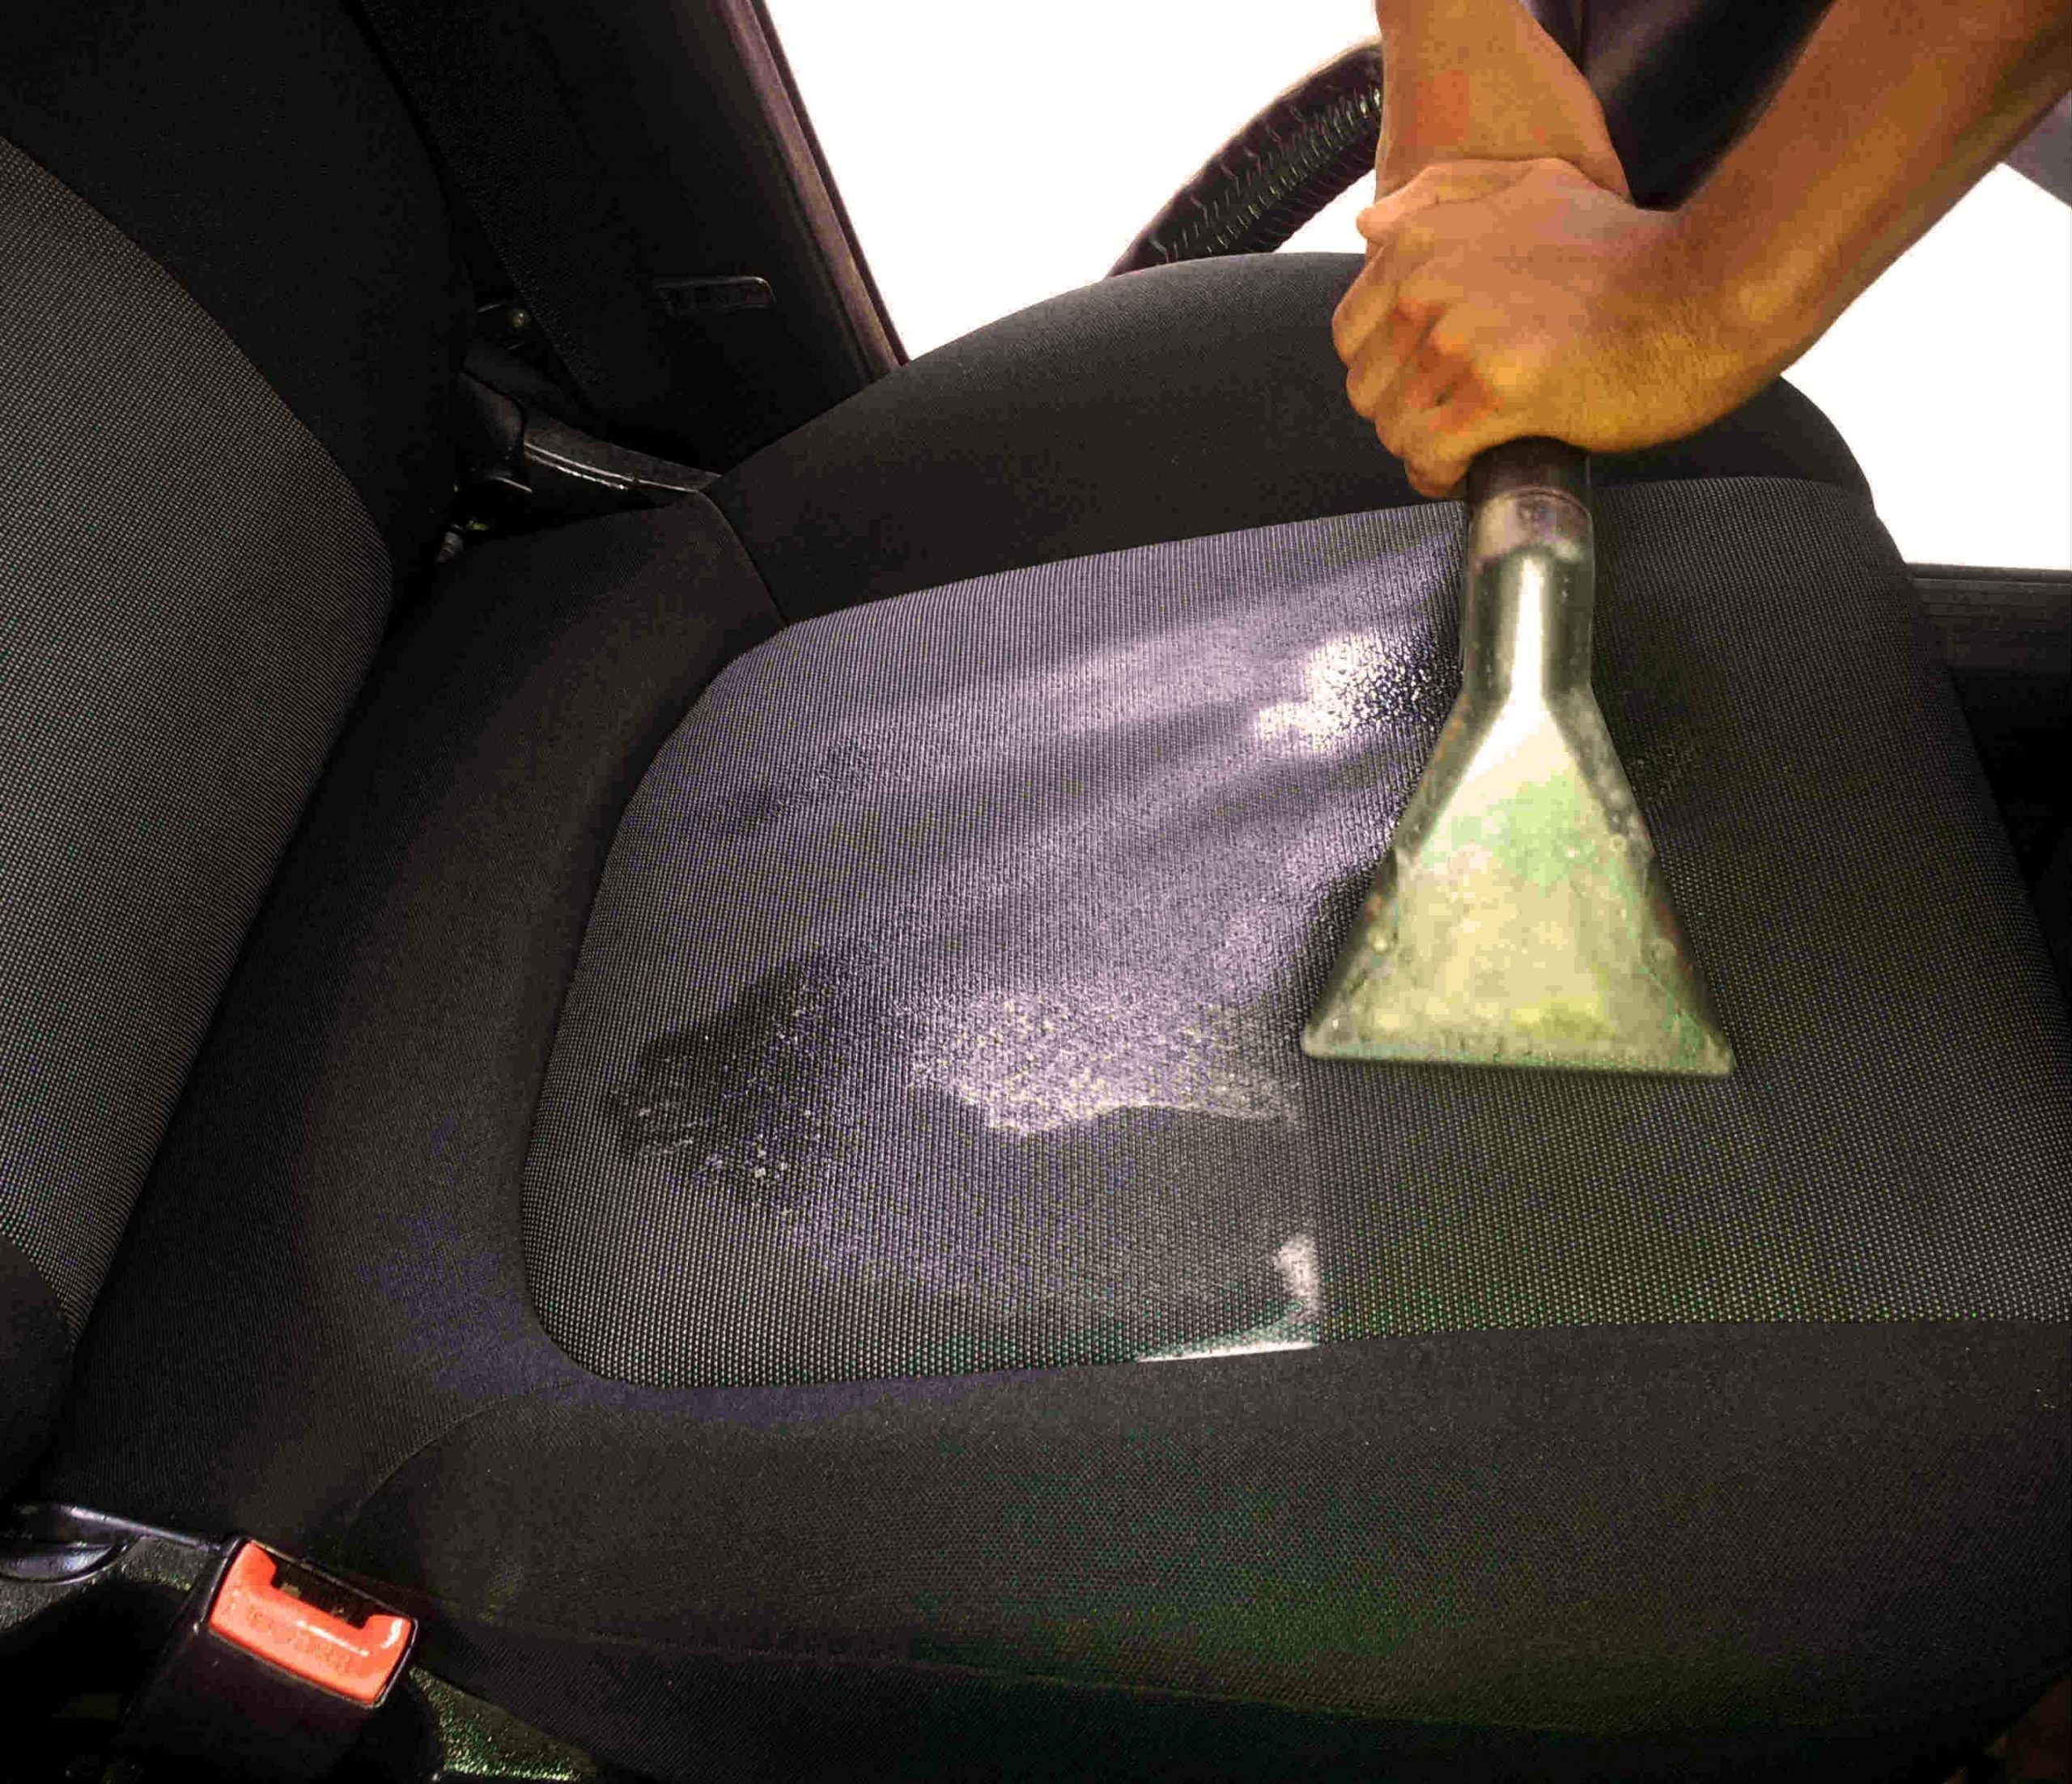
Get the water out! Grab some towels and go to town. Follow up with a thorough dose of shop-vac. These wet-or-dry vacuums are incredibly effective at removing moisture from surfaces like car seats, floor mats and carpet. If you don’t own one, they cost much less than a new interior, so pick one up.

Some vehicles have drain plugs that allow water to escape. If you’re the lucky owner of one of these cars, you know what to do. Just remember to put them back when it’s dry.
Drying Out Your Car Step 2: Turn Your Ride into A Desert
Heat and Airflow are next on the list when it comes to drying things out. You can use a space heater to warm things up in your ride, but if you do, be careful not to place it somewhere that might cause things to get too warm.
Gather all of the fans you can find that will fit into your car and let them run. 24 hours is good, 48 is better. Position more fans on either side of the car, so that they blow across the seats and carpet. A dehumidifier placed next to the car will also help, if you’ve got one.
Finishing The Job, Step 3: Protect Your Wet Car Interior Against Mold
Now is when things get crucial. With the easily removed water out of the car, the trick is to really dry things out so that your fabrics wont stink and make you sick.

Many hardware stores sell industrial-grade desiccant, you know, those little pellets that come in shoe boxes? It’s hygroscopic—that means it will attract moisture from its surroundings. If you can’t buy the fancy stuff, just get a few boxes of baking soda and leave them in the car.
If you haven’t got a garage in which to performing your drying operation, let the car idle and run the air conditioner, which will remove additional moisture.
How to remove mold from a car interior
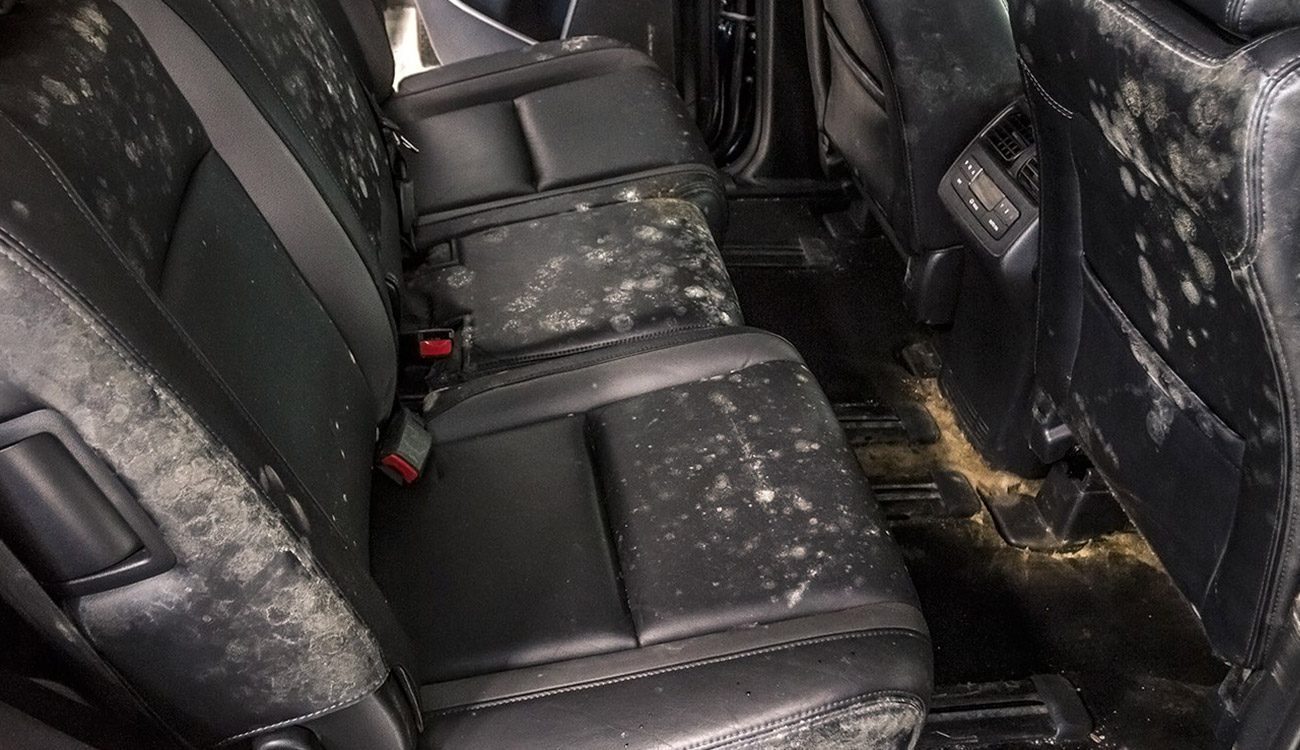
Let’s say you were a little late, and your car interior is moldy. Follow these steps to get your car mold-free:
1. Get Your Car Into Direct Sunlight
Mold thrives in dark and damp environments — it is a type of fungus after all, so it thrives in the same kind of places where mushrooms would flourish. If you’ve got visible mold growth on seats or carpets, get your car into direct sunlight and open all the doors and windows. It won’t get all the mold — there are plenty of dark crevices for it to hide in a car’s interior — but it can help kill off any exposed mold.
2. Skip the Harsh Chemicals
Don’t jump straight to bleach or ammonia for getting rid of mold — they’re not terribly effective and will just damage your car’s interior. Plus, some forms of mold actually thrive on ammonia, so make sure you leave that particular cleaning solution under your sink.
Finally, for the love of all you deem holy, do not mix bleach and ammonia. You’ll end up creating chlorine gas, which is extremely dangerous to everyone who breaths it.
3. Protect Yourself
When mold is disturbed, it releases spores that can be dangerous if they get into your eyes or are breathed in.
If possible, try to don protective clothing before you start cleaning up the mold. If you don’t have a protective suit, wear long pants and a long-sleeved shirt. These clothes should go into the washer with hot water as soon as you are done.
Wear gloves to keep the mold from coming into contact with your skin, and a face mask and goggles or a respirator to prevent you from breathing in any spores.
4. Gather Your Supplies
You don’t need anything fancy to get mold out of your car, though things like carpet steam cleaners and other tools can be useful if you’re dealing with large infestations. Gather:
- White vinegar
- Tap water — if necessary, you may want to use undiluted vinegar if the infestation is bad
- A spray bottle
- Cloths, old toothbrushes and other scrubbing implements
- Borax
Mix eight parts vinegar with two parts water or undiluted vinegar in the spray bottle and spray the mold-infested areas until they are saturated. Let it sit for 15 minutes at least, then vacuum up the still-wet vinegar along with the dead mold.
Air dry the area for at least 15 minutes, then sprinkle the affected area with borax powder. Let it sit for 10-15 minutes, as borax is another natural mold killer, and vacuum that up as well.
It might take a bit of elbow grease, but this cleaning method can be repeated as often as necessary to finally kill off all the mold.
5. Keep Your Car Dry
As we’ve mentioned before, mold thrives on moisture. Keep your car as dry as possible. If humidity is a problem, look into dehumidifying substances like DampRid that you can keep in your car to absorb any ambient moisture. Once they’re saturated, you simply throw them out and replace with a new package.
6. Start From Scratch
Depending on how handy you are and how bad the mold infestation is, you may want to just start from the frame up — strip out all of the upholstery and replace — after you’ve scrubbed the metal interior to remove any remaining mold spores, that is.
This is a last-ditch effort, though. If you’ve gotten to the point where you feel like you need to replace the entire interior of the car, it might be time to give up and buy a new one.
Accidents happen, and a soaked car interior is no fun to deal with, but it’s not the end of the world. Follow these three simple steps, and you’ll be back on the road sooner than you think, unafraid to leave the car with a dark spot on your behind.


