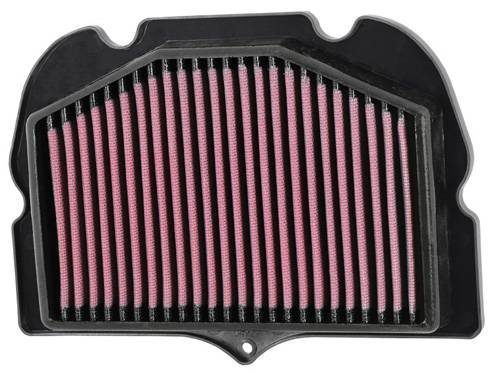
How to Change a Subaru Outback Cabin Air Filter
The Subaru Outback models manufactured between 2000 and 2004 tend to have simpler cabin air filter replacement procedure. But it is still quite tricky and thorny to do this replacement. Air filter on Subaru Outback is usually replaced to maximize the air quality inside the passenger cab of the vehicle. This also enables the A/C and fresh air to flow into the cab more freely. It usually required replacing the Subaru outback cabin air filter yearly otherwise on every 15,000 miles and it is mentioned in maintenance interval schedule of this vehicle. Here’s how to change a Subaru outback cabin air filter.
Things you’ll need:
The essential things you will require here include:
- Phillips-head screwdriver
- Flat-head screwdriver
- Replacement cabin air filter

Step 1:
Now begin with opening the glove box and then remove all of its contents. Then put the dashboard panel off to one side of the glove box. If required then make use of the flat-head screwdriver to help take the panel away from the dashboard.
Step 2:
After that, cut off the stopper string on the right-hand side of the glove box. Let loose the pushpins that are there to hold the glove box hinge. Now take a Phillips-head screwdriver and use it to unscrew the center screw in the pins near about 1/4 inch, and after that make use of a flat-head screwdriver to pull the pins out by prying.
Step 3:
Now softly push in the glove box to remove the upper glove box stops from the track grooves. You are recommended to remove one side at a time, and afterward drop down the glove box.
Step 4:
Now with the help of a Phillips-head screwdriver take away the three screws on the right side of the owner’s manual. Slip this owner’s manual shelf out of its position and then remove it as well.
Step 5:
Now remove the three residual screws that are holding the filter housing bracket, and after that remove this bracket. Take the noise dampening insulation away from the filter housing cover.
Step 6:
Remove the four retaining clips on the front tray, and subsequently pull the cabin air filter tray out. Take out the old filter from the tray, while observing the air flow arrow indicator on the side of the old filter.
Step 7:
Put the new filter in the tray, verifying that it is positioned and secured in the tray appropriately and also that the air flow direction is accurate consistent with the arrow indicator.
Step 8:
Finally put the filter and tray assembly back into the filter housing until you see all the clips are in their proper place. Now restore the rest of the glove box assembly by doing the same procedure but in reverse order.


