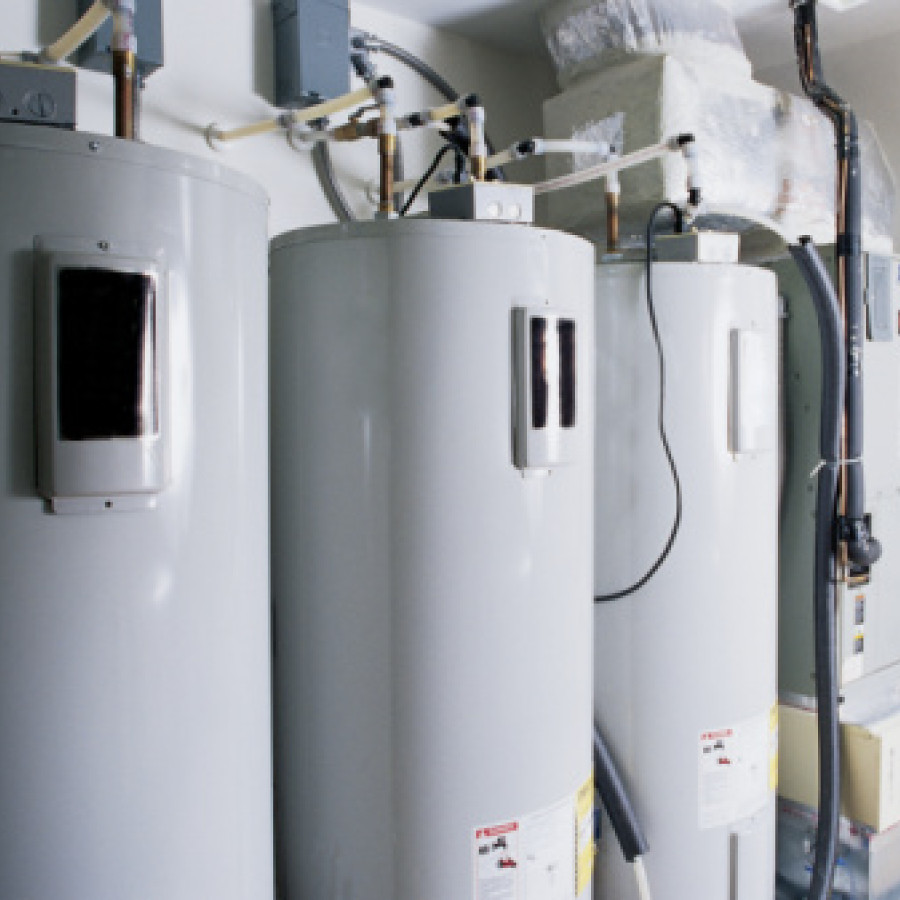
How to Change a Hot Water Tank in a Camper
A camper (also called as recreational vehicle) is essentially a home on wheels and it takes in the majority of the amenities found in a home. These amenities incorporate a sink as well as a shower that usually necessitate hot water provided by a water tank otherwise heater. You may require replacing this water heater when it becomes older or else offers a leak. You have both options for this task i.e. you can ask a professional to do this other can carry out this job on your own. Here’s how to change a hot water tank in a camper.
Things you’ll need:
The required tools to change hot water tank in a camper include:
- Screwdriver
- Wrench
- Socket wrench
- Pipe wrench
Step 1:
Begin with turning off the propane supply while separating the electric hookup from the water heater. This water heater is normally powered by a 12-volt battery connection.
Step 2:
Take the water heater away from the outlet and afterward exhaust it of water. Next remove the door or else the cover on the side of the camper plus any ornamental trim.
Step 3:
Cut off the copper pipe connection that is utilized for the propane and make use of a pipe wrench for this reason to loosen the fitting.
Step 4:
Next inspect the water heater to verify that it is secured within the camper. It may be secured by using a metal frame or otherwise a clamp or plumbers tape.
Step 5:
Now do away with the frame neighboring the water heater. Employ a wrench plus socket wrench, to remove the frame.
Step 6:
Take hold of a screwdriver to take the screws away that are holding the clamp or plumbers tape.
Step 7:
Remove the old water heater from the camper. Also do away with all pipe fittings that are connected to hoses in the camper.
Step 8:
Put the new water heater on the opening edge by a ladder or saw horses.
Step 9:
Attach the hoses again with the camper as well as with the 12-volt battery connection or electric hookup.
Step 10:
Make use of a screwdriver for tightening the screws for the clamp or plumbers tape. It will secure the water heater.
Step 11:
Put the frame back around the water heater and reattach any remaining connections.
Step 12:
Use a pipe wrench to tighten the fittings while attaching the propane copper pipe connection with the new water heater. Next turn the propane supply on to see if there is any leak.
Step 13:
For proper testing, first fill the water heater with water and after that turn it on to verify that it works.
Tips & Warnings:
- You may need your companion to remove the water heater from the camper. Earlier than draining the water turn off the water heater for about two to three hours.
- Bear in mind that the water in the water heater can still be hot which can result in burns. To avoid these types of dangers and risks first separate any electrical power as well as gas lines ahead of removing the water heater.


 | Bring a Trailer")