How to Build a Trailer – Homemade Trailer Guide
Sat, 03/24/2018 - 15:17
Before you think about building a trailer, you must have a good axle kit. Some other things like the weight capacity, frame, suspension etc should also be considered upfront. Let’s look into the steps in building a trailer.
Steps:
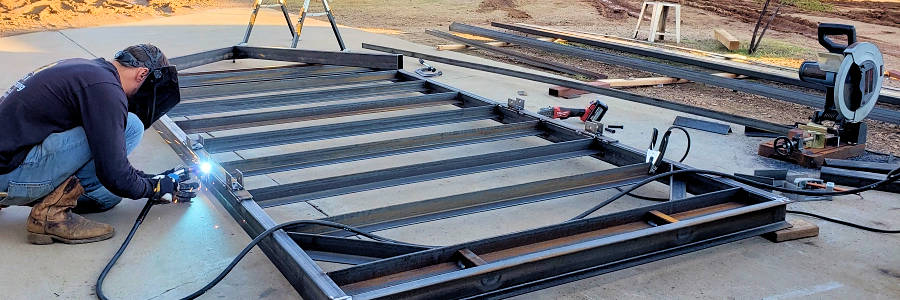
Step 1: First of all, cut the main frame pieces. And for that you may employ a welder and a cut off saw. The pieces should be similar in shape to that of a square; they should be flat as well. Before we get into the next steps, you should make sure that the pieces are flat and the shape of the pieces is similar to that of a square.
Step 2: Now think about what kind of trailer you need. And depending on the type of the trailer, in your mind, the positioning of the axle will be different. Suppose, if you have planned to build a tilting trailer, the axle has to be positioned towards the gravity center. It should be looking as if it is pointing towards the gravity center.
Step 3: Now, it’s time to do something different. You should calculate the tongue weight after you make sure you have done all other things the right way. It is recommended to use about five percent of the axle’s weight as the tongue weight. You will get an idea about the tongue weight once you start using the trailer. That time, you will understand why we mentioned to use just five percent of the axle’s weight as tongue weight.
Step 4: This is one of the most important step in building a trailer. You must be very careful while following this step. Now, you center the axle with respect to the frame. Check the center line of the frame and make sure that you have centered the axle through the same line. You can do one more thing in order to make sure everything is done correctly; Measure the distance between the hitch and the wheels. If they are equal, then it means that you have done things the accurately. Otherwise, you’ll have to center the axle again, until it becomes perfect.
Step 5: The tongue of the trailer should be mounted to a cross bar. Once you do that, a latch has to be fitted.
Step 6: You may paint the surface in order to make it rust free.
[{"target_id":"256144","alt":null,"title":null,"width":"900","height":"300","url":"\/sites\/default\/files\/articles-images\/cb\/jtp-trailer-build.jpg"},{"target_id":"256145","alt":null,"title":null,"width":"2560","height":"1920","url":"\/sites\/default\/files\/articles-images\/a7\/how-to-build-a-trailer-homemade-trailer-guide.jpg"}]


