
It might only happen a few times over all your years behind the wheel, but eventually, you’ll face a flat tire. And of course, it never happens in your driveway—it’s always on the side of a busy road or miles from a service station. When that moment comes, you’ll need to handle it yourself. Don’t panic; swapping a flat is easier than it looks, even if you’ve never done it before. (Provided your car still comes with a spare—many newer models don’t.) Just follow the five simple steps below to change a flat tire swiftly and safely.
Step 1: Park Your Car
Once you hear that unmistakable thump-thump-thump and feel your car start to wobble, slow down immediately and look for a safe place to pull over. Aim for flat, stable ground away from traffic. Shift into “park” or reverse if you’re driving a manual, and engage the parking brake. Your goal is to keep the car steady and prevent any rolling once you lift it off the ground with the jack.
Step 2: Find the Tire-Changing Tools Your Car Came With
Gather your gear—the spare tire, jack, and lug wrench. You’ll usually find these under the floor of your trunk or cargo area, though trucks and SUVs often keep the spare mounted beneath the rear of the vehicle. If you’re not sure how to access it, check your owner’s manual. Before lifting the car, use the lug wrench to loosen the lug nuts slightly, but don’t remove them yet. Then, locate the proper jacking points under your vehicle—typically beneath the doors near the front and rear wheels—and position the jack there.
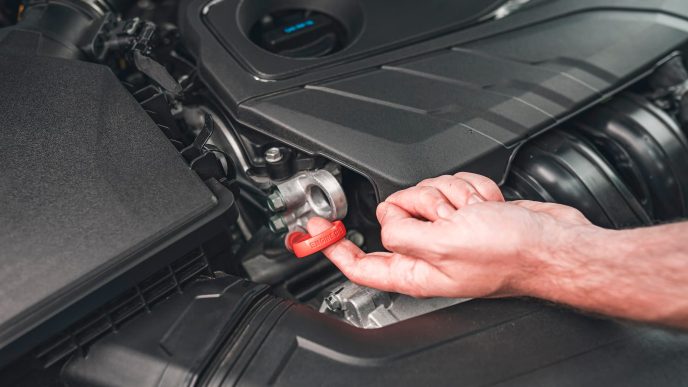
Note: Many modern vehicles skip the traditional spare tire altogether. Some use “run-flat” tires that can drive short distances at reduced speeds after a puncture. Others include a can of sealant and an inflator kit instead. If that’s the case, follow your owner’s manual to apply the sealant and reinflate the tire—it’s a temporary solution meant to get you safely to a repair shop for a proper replacement.
Step 3: Jack It Up
To keep the car from rolling, wedge something—like a rock, a brick, or a wooden block—under a wheel opposite the flat. This adds extra stability while you work. Position the jack under the correct jacking point closest to the damaged tire, then crank the handle until the flat tire lifts off the ground. Raise it an extra inch or two to give yourself enough clearance to swap it out.
Step 4: Remove the Lug Nuts
Now it’s time to remove those loosened lug nuts completely. Set them in a secure spot so they don’t roll away or get lost. Pull the flat tire straight off and place it to the side. Align the spare tire on the studs—make sure the valve stem (where you inflate it) faces outward—and hand-tighten the lug nuts to hold it in place. Then, use the wrench to snug them up lightly, but don’t fully tighten them yet; that comes after lowering the car.
Step 5: Put the Spare Tire On
Lower your car slowly back to the ground and remove the jack. Once it’s resting firmly, tighten the lug nuts all the way, working in a crisscross or star pattern to ensure even pressure. You don’t need to strain—just apply steady force until they feel firm and secure. Return your tools and flat tire to the trunk, and you’re ready to get back on the road.
Flat tires are an inconvenience, but knowing how to handle one turns frustration into confidence. With the right tools and a bit of patience, you can be back behind the wheel in no time—safe, steady, and ready to roll.